
Gym Owners: Turn 2010 ADA Rules into Practical Low Cost Fixes
Yes, Title III of the ADA applies to gyms as places of public accommodation, and it covers both the building and how you run it. The single most urgent move is a self-walkthrough this week: measure your routes, check your equipment clearances, and note where staff policy might discriminate. Skip that step and you’re guessing at your own legal exposure.
TL;DR:
- Ensuring at least one accessible machine per equipment type and confirming clear floor space of 30 by 48 inches is essential for ADA compliance.
- Parking lot inspection should focus on van accessible spaces with 96-inch access aisles and proper signage guiding members to accessible entrances.
- Circulation routes in the gym must maintain a minimum of 36 inches width, with 60 inches for passing and turning, verified through practical testing.
- Accessibility upgrades during renovations require written confirmation that the new plan meets 2010 ADA Standards and include a clear path of travel unless disproportional costs apply.
- Maintaining accurate documentation of inspections, fixes, and operational policies reduces legal risk and encourages member retention by fostering a genuinely inclusive environment.
Getfitnessflow
Keep Gym Operations Connected
Fitness Flow brings sales, scheduling, billing, and member engagement into one platform, reducing administrative workload for gym owners.
Table of Contents
- What Does ADA Compliance for Gyms Actually Require?
- Getting Your Parking Lot and Entrance Right
- How Much Clear Space Do Gym Aisles Need?
- Which Exercise Machines Need Accessible Clearance?
- Are Your Locker Rooms and Showers Actually Accessible?
- Signage, Service Animals, and Staff Training Obligations
- Does Your Website and Booking System Need to Be ADA Compliant Too?
- When Do Renovations Trigger New ADA Obligations?
- How to Run a Self-Assessment and Build a Remediation Plan
- What Happened in the DOJ’s Case Against LA Fitness?
- Where to Find Authoritative Guidance and What to Do This Week
- Why Accessible Gyms Retain Members Better Than Compliant Ones
- How Fitness Flow Helps You Manage Accessibility Compliance Day to Day
- Sources
What Does ADA Compliance for Gyms Actually Require?
ADA compliance for gyms breaks into two buckets: physical standards and operational duties. Get both wrong and you’re exposed on two fronts at once.
The physical side comes from the 2010 ADA Standards for Accessible Design, the technical rulebook the U.S. Access Board maintains for buildings open to the public, with Chapter 10 addressing sports and recreation facilities specifically. The operational side covers how staff treat members with disabilities, whether you charge extra fees for accommodations, and whether your booking system locks anyone out. Studies on fitness facility accessibility find that both sides tend to fail together: a gym with narrow aisles between machines often also lacks a coherent policy for handling accommodation requests at the front desk.
Here’s what to inspect first, before you touch a tape measure on any single machine:
- Accessible parking and approach route. Are van accessible spaces present, with access aisles that connect to a continuous accessible path to your entrance?
- Main accessible route width. Does the path to your primary function areas, the cardio floor, the free weight section, group class rooms, hold at least 36-inch clear?
- Equipment clear floor space. Does at least one machine per type offer 30 by 48 inches of clear space, or 36 by 48 inches if it sits inside an enclosure?
- Locker rooms and showers. Is at least one accessible option available in each cluster of amenities?
- Digital and policy checks. Can a member using a screen reader complete a booking, and does your front desk know how to respond to a service animal or an accommodation request without improvising?
An estimated 26% of American adults live with some form of disability, which means inaccessible design isn’t a rounding error in your member base. It’s a market segment you’re actively excluding.
Getting Your Parking Lot and Entrance Right
Site access is where most inspections start, and it’s often where the cheapest fixes live. A gym that spent a fortune on equipment can still fail a complaint because of a curb without a cut, or a van accessible space eight feet short of what the standard requires.
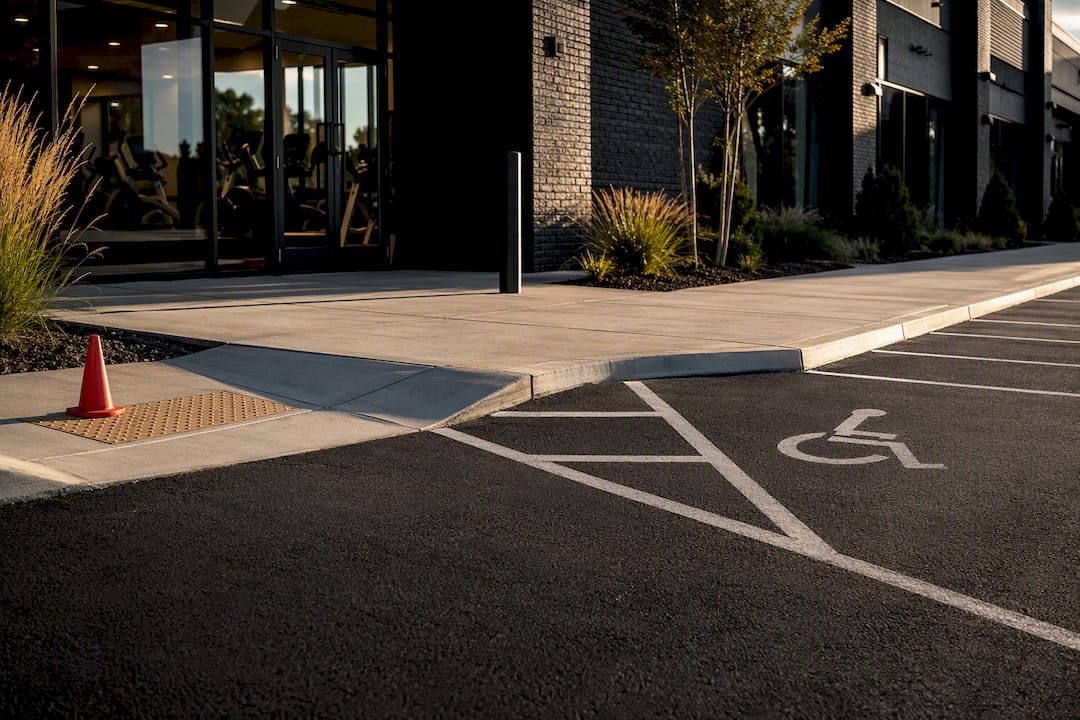
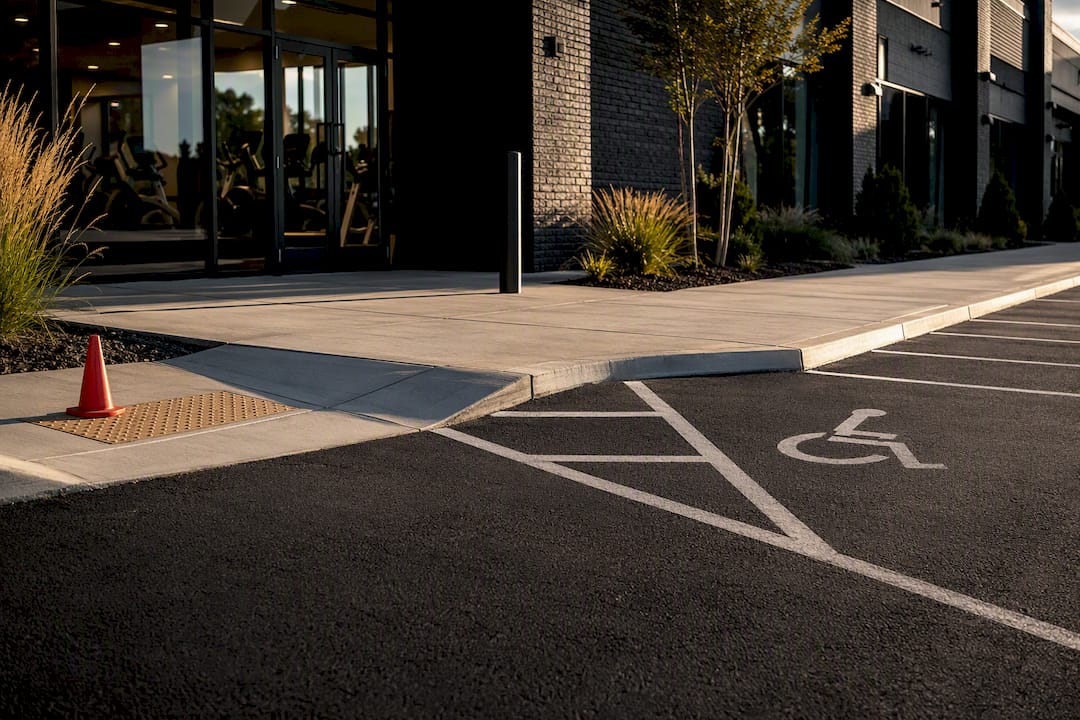
Van accessible parking spaces need an access aisle at least 96 inches wide, wider than the standard 60-inch aisle required for a regular accessible space, because a wheelchair lift needs room to deploy. The number of accessible spaces required scales with your total lot size. A small strip-mall gym with 25 spaces needs at least one accessible space; larger lots require proportionally more. Every accessible space also needs a route to the entrance that doesn’t force someone back into vehicle traffic.
Signage matters more than most owners assume. The International Symbol of Accessibility needs to be visible from the parking aisle, and directional signage should guide members from the lot to the entrance without a maze of assumptions. If your accessible entrance is a side door because the front has stairs, that side door needs its own sign at the primary entrance pointing the way.
Ramps carry their own math. A running slope steeper than 1:12 fails outright, and even within that limit, landings are required at the top and bottom, plus anywhere the ramp changes direction. Thresholds at doorways can’t exceed roughly half an inch unless beveled, which sounds trivial until you realize a lot of older strip-mall retrofits have three-quarter-inch metal thresholds from the original tenant buildout.
Retrofit options that solve real problems without a full parking lot repave:
- Portable or modular ramps for short-term threshold fixes at side entrances
- Restriping to convert a standard space into a van accessible space near the entrance
- Relocating or adding signage at low cost when the physical route already exists but isn’t marked
- Beveling or replacing problem thresholds during routine door hardware maintenance
None of these require a construction permit in most jurisdictions, which makes site access one of the fastest wins in your remediation plan.
How Much Clear Space Do Gym Aisles Need?
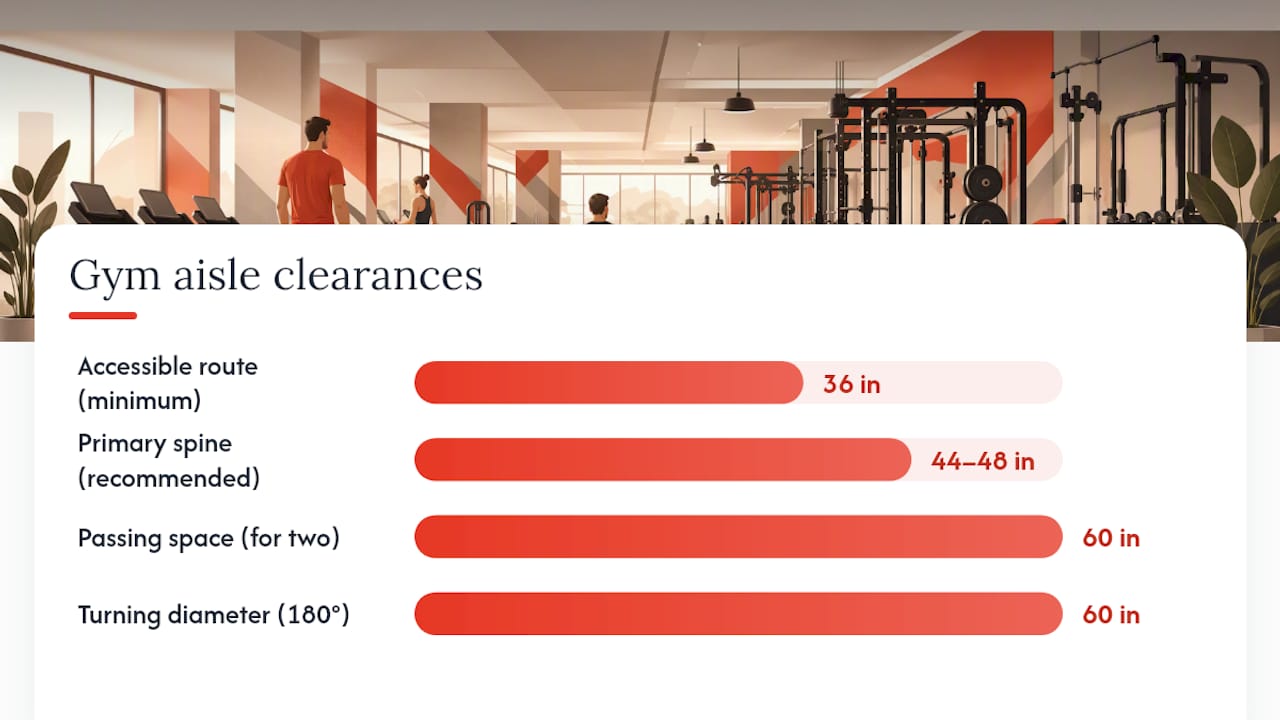
Circulation is the part of ADA compliance most gym owners underestimate, because it’s invisible until someone in a wheelchair tries to navigate a packed cardio floor during peak hours. The 2010 ADA Standards set a 36 inch minimum width for accessible routes, and that number needs to survive contact with your actual floor plan, not just your blueprints.
The trap is treating 36 inches as the finish line. That’s the minimum for a straight run with no obstruction. Where two wheelchair users need to pass each other, you need a 60-inch passing space at reasonable intervals, or a T-shaped intersection that provides equivalent room. Turning space for a full wheelchair maneuver, a 180-degree turn, needs a 60-inch diameter circle or an equivalent T-turn configuration. Squeeze your treadmills a foot too close to your bike rack and you can fail this standard without ever touching a piece of equipment.
Pro Tip: Walk your own floor with a 36 inch dowel or a folded yoga mat cut to that width. If it doesn’t slide freely along your main aisles at 5 p.m. on a Tuesday, your route fails in practice even if it passes on paper.
Cardio and strength zones create the most friction because gyms pack them for visual density. Sales floors look busier with machines close together, but that density is exactly what kills your accessible route. A workable pattern: keep your primary spine aisle, the main path connecting entrance to locker rooms to the far wall, at a hard 44 to 48 inches, and treat the 36 inch minimum as the floor for secondary aisles only, never the target.
Movable equipment is the recurring failure point. Dumbbell racks get shifted. A trainer drags a bench into the aisle for a client session and doesn’t put it back. Your circulation compliance isn’t a one-time layout decision, it’s a daily maintenance habit.
Practical steps for keeping your floor compliant week to week:
- Mark accessible machine locations with floor decals so staff and members know not to block them
- Assign a staff member to a five-minute end-of-shift aisle check, treating it like a fire-exit sweep
- Keep a standing rule that free weights and mats return to marked zones, not wherever the last set ended
- Photograph your floor layout quarterly so you have a documented baseline if a complaint arises
Which Exercise Machines Need Accessible Clearance?
Not every machine in your gym needs its own dedicated accessible clear space, but at least one unit of each equipment type does, and that distinction trips up a lot of owners doing a quick self-audit.
The Access Board’s technical guidance specifies clear floor space of 30 by 48 inches for most machines, extended to 36 by 48 inches when the equipment sits inside an enclosure, think a leg press with side panels or a cable station boxed in by a frame. That space needs to be clear of obstruction and positioned so a person using a mobility device can approach and use the controls. If you have six treadmills, you don’t need six accessible clear spaces. You need at least one treadmill with a compliant approach, and it needs to stay that way, not get flanked by a towel cart during busy hours.
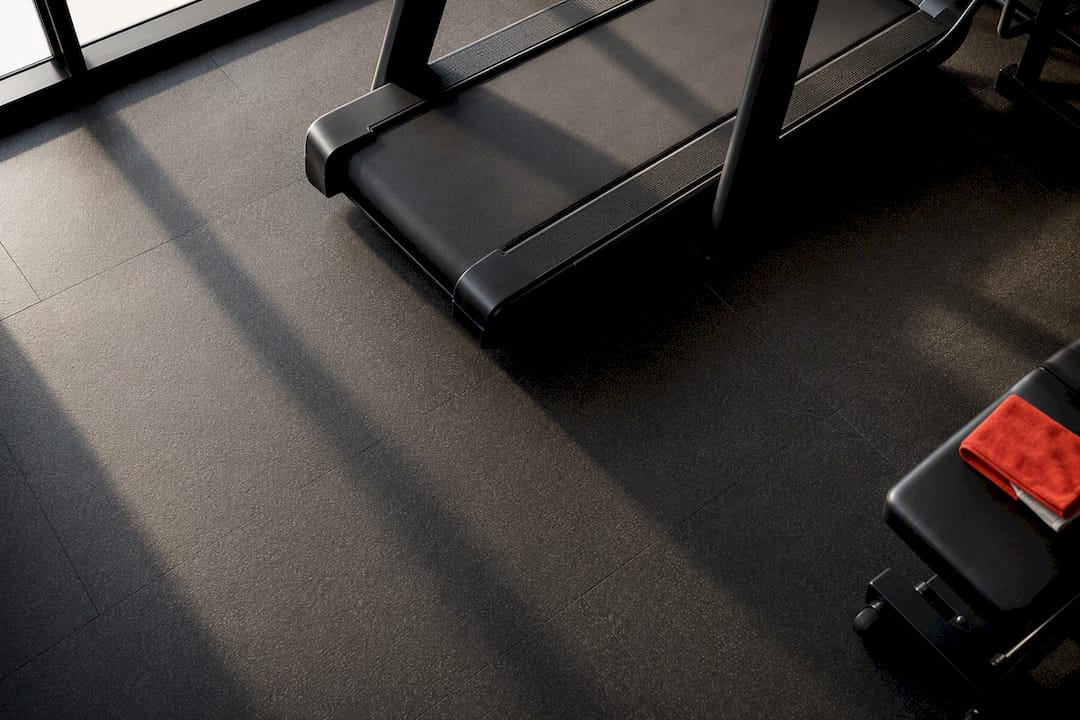
Equipment type matters more than equipment count. A gym with three different chest press machines from three different manufacturers needs at least one accessible unit per distinct type, not just one accessible unit total. That’s a common misread of the standard, and it’s the kind of gap a DOJ complaint or a third-party audit will catch immediately.
Where full replacement isn’t in the budget, adaptive strategies close the gap without a wholesale equipment overhaul:
- Adjustable-height benches that lower enough for a safer transfer from a wheelchair
- Removable or swing-away seat pads on select machines to ease side transfers
- Transfer boards kept at the front desk and offered proactively, not just on request
- Clear signage on each accessible unit so members and staff both recognize which machines qualify
Staff training closes the loop here. A compliant machine with clear floor space still fails the member if nobody on your floor knows how to safely assist with a transfer or knows the machine exists at all. Build a one-page reference sheet listing your accessible units by zone and hand it to every new hire during onboarding, not buried in a policy binder nobody reopens.
Are Your Locker Rooms and Showers Actually Accessible?
Locker rooms are where a lot of otherwise-compliant gyms lose the plot, because retrofitting plumbing and fixtures costs real money and owners tend to defer it as long as possible.
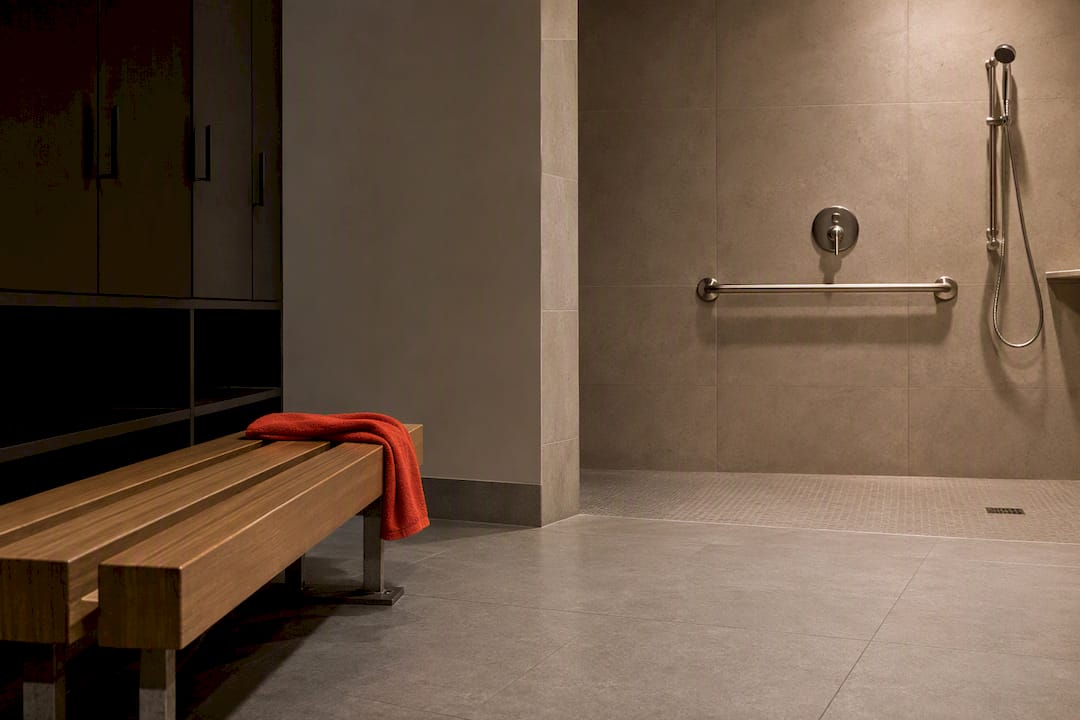
The governing rule from Access Board recreation guidance is the 5 percent rule: when amenities are provided in clusters, lockers, showers, saunas, at least 5 percent of each type, or at minimum one, must be accessible. A cluster means a grouping in one location, so a bank of 40 lockers in your main locker room needs at least two accessible units, while a single row of eight needs at least one.
Bench design gets overlooked constantly. An accessible bench needs to be at least 24 by 48 inches, mounted at 17 to 19 inches off the floor, with clear floor space beside it for a wheelchair to park during a transfer. A bench bolted too high or wedged against a wall with no approach space fails even if it’s technically the right dimensions.
Shower configuration comes down to a real choice between two approaches:
- Roll-in showers: no curb, wide enough for a wheelchair to enter directly, with a fold-down seat and controls mounted within reach range
- Transfer-type showers: a seat just outside the threshold that lets a person transfer in, with grab bars positioned for that transfer motion
Neither option is universally “better.” A roll-in shower serves wheelchair users who prefer to stay seated through the entire shower; a transfer shower works for members who can move from wheelchair to bench with support. Many well-designed locker rooms offer at least one of each where space allows.
Grab bars and controls carry their own placement rules, generally within 15 to 48 inches of the floor and positioned to be reachable from a seated position, not an afterthought bolted wherever tile work made it convenient.
If a full locker room renovation isn’t feasible this year, phase it: fix bench height and clear floor space first since that’s often just carpentry, then tackle shower conversions as part of your next capital cycle.
Signage, Service Animals, and Staff Training Obligations
The non-architectural side of compliance is where gyms get caught even when the building itself looks fine. Signage standards require accessible symbols and, for permanent room identification like restrooms, tactile and Braille characters mounted at a consistent height and reach range. A gym that spent money on ramps but still uses a hand-lettered “Accessible Restroom” sign with no tactile element has a gap that costs almost nothing to close.
Here’s the operational sequence to work through:
- Audit your signage for correct mounting height, tactile characters where required, and consistency across every accessible feature in the building.
- Establish an auxiliary aids protocol. Decide in advance how staff will provide things like written communication for a deaf member, or a chair-side spotter for a member who needs mobility assistance, rather than improvising in the moment.
- Write a service animal policy that matches the actual rule: staff may ask only if the animal is required because of a disability and what task it performs, nothing more, and a member cannot be charged an extra fee or denied entry because of the animal.
- Document every accommodation decision. A simple log of what was requested and how staff responded protects you if a pattern of complaints ever surfaces.
- Train new hires on all of the above during onboarding, not as a one-time seminar three years ago that nobody remembers.
Pro Tip: Keep a one-page laminated card at the front desk covering your service animal policy and auxiliary aid options. New staff shouldn’t have to guess in front of a member.
Operational failures like these are a documented pattern in DOJ enforcement actions against gym chains, often surfacing even in facilities where the physical building was largely compliant.
Does Your Website and Booking System Need to Be ADA Compliant Too?
If a member can’t complete a booking, sign a waiver, or manage their account through your website, that’s a Title III problem regardless of how accessible your building is. Courts and settlement agreements increasingly point to WCAG 2.1 Level AA as the practical benchmark for digital access, even though the ADA itself doesn’t name a specific web standard.
Test your own booking flow the way a member with a disability would encounter it:
- Can every function, booking a class, signing a waiver, updating billing, be completed using only a keyboard, no mouse required?
- Do form fields have visible labels a screen reader can announce, not just placeholder text that disappears on click?
- Does your color contrast meet a 4.5:1 ratio for normal text, especially on class schedules and pricing pages?
- Do error messages on forms describe the problem in text, not just a red border with no explanation?
- Do any embedded videos, class previews, trainer intros, include captions?
Vendor contracts are your leverage point here. If you use a third-party booking platform, ask directly whether it meets WCAG 2.1 AA and get that commitment in writing before you renew. Quick fixes you can often make yourself include adding alt text to images, adding ARIA labels to icon-only buttons, and turning on auto-captioning for any video content you host.
Digital access has become a growing focus in Title III matters involving gyms precisely because it functions as your front door. Remediating a booking flow is usually faster and cheaper than a locker room renovation, and it closes exposure immediately rather than over a construction timeline.
When Do Renovations Trigger New ADA Obligations?
Any renovation to a primary function area, your main workout floor, locker rooms, group class rooms, counts as an “alteration” under the ADA, and alterations carry their own trigger: the altered portion must be made accessible to the current standard, even if the rest of the building was grandfathered under an older code.
This is where a lot of owners get blindsided. Renovate your cardio floor and leave the path to it untouched, and you may still be required to upgrade that path of travel, the route connecting the entrance to the altered area, unless the cost of doing so is disproportionate to the overall renovation cost. That disproportionality threshold is a specific legal calculation, not a gut feeling, and it’s exactly the kind of detail that turned a routine remodel into enforceable obligations in the LA Fitness matter.
Two standards govern this work: the 2010 ADA Standards for the general building requirements, and the Access Board’s recreation facility supplement for anything specific to exercise equipment and sports facilities.
Before you sign off on any renovation plan, build these checkpoints into your contractor and architect relationship:
- Require written confirmation that renovation plans meet 2010 Standards for the altered area specifically, not just general code
- Ask explicitly whether the path of travel to the altered area needs upgrading, and get the disproportionality calculation in writing if the answer is no
- Schedule a compliance review at the design phase, not after construction is complete and change orders get expensive
- Budget contingency for path-of-travel work upfront rather than treating it as a surprise mid-project
Renovation costs for path-of-travel upgrades vary widely by building age and layout, which is exactly why this conversation belongs at the contract stage, not the punch-list stage.
How to Run a Self-Assessment and Build a Remediation Plan
A structured self-assessment beats waiting for a complaint to tell you where you stand, and it gives you something almost as valuable as compliance itself: documentation showing good-faith effort.
Here’s a sequence that works for most facilities:
- Walk the entire facility with a checklist mapped directly to the 2010 Standards, parking, route, equipment, locker rooms, signage, digital, section by section.
- Score each issue by risk, not just cost. A blocked accessible route is a higher-risk item than a locker bench two inches off spec, because it denies access entirely rather than making it harder.
- Sequence fixes with safety and primary-function areas first. Path-of-travel and equipment clearance issues jump the line ahead of cosmetic signage updates.
- Set a phased timeline: immediate fixes (signage, restriping, policy documentation) within 30 days, short-term fixes (equipment repositioning, threshold repairs) within 90 days, and medium-term capital projects (locker room renovation, parking lot work) mapped to your next budget cycle.
- Document every fix with dates and photos. This record is your best evidence of good-faith effort if a regulator or a complainant ever asks.
Given that roughly 1 in 4 American adults lives with a disability, a serious self-assessment isn’t just a legal hedge, it’s a look at how much of your potential membership you might currently be turning away at the door.
Ballpark costs vary enormously by facility age and market, so treat any number you get from a contractor as a starting point for negotiation, not a fixed quote. What stays consistent is the sequencing: cheap fixes first, capital projects mapped to your real budget cycle, and a paper trail the whole way through.
What Happened in the DOJ’s Case Against LA Fitness?
The Department of Justice has direct civil enforcement authority under Title III, and it doesn’t need a lawsuit from an individual member to act. DOJ can investigate based on complaints, conduct its own compliance reviews, and bring suit directly against a facility.
The action against Fitness International, operating as LA Fitness, is the clearest recent illustration of what that looks like in the fitness industry specifically. DOJ alleged barriers to access across multiple locations along with improper fee practices tied to accommodations, and the resulting settlement required specific remediation steps along with ongoing monitoring, not just a one-time fix and a handshake.
Common triggers that turn a routine gym into a complaint target:
- Blocked or narrow accessible routes on the workout floor, often from equipment creep over time
- Locker rooms or showers where the accessible unit was converted to storage or simply not maintained
- Staff denying or charging extra for accommodations, including service animal access
- Booking systems or websites that can’t be navigated without a mouse or that fail screen reader compatibility
The practical lesson isn’t that DOJ is targeting gyms specifically. It’s that fitness facilities combine dense equipment layouts, wet-area amenities, and public-facing digital tools, three categories where compliance gaps commonly hide, all under one roof.
Where to Find Authoritative Guidance and What to Do This Week
Three sources anchor everything in this guide, and they’re worth bookmarking directly rather than relying on secondhand summaries: the U.S. Access Board’s Chapter 10 guidance for recreation-specific technical rules, the 2010 ADA Standards index for the full building code baseline, and the DOJ’s ADA enforcement case documentation for how these rules play out in real disputes.
If you need outside expertise, look for a consultant with RAS (Registered Accessibility Specialist) credentials in states that certify them, or an architect with documented ADA compliance project history. Ask directly: how many gym or recreation facility audits have you completed, and can you walk me through how the 2010 Standards apply to exercise equipment specifically?
Three things to do before the week is out:
- Walk your facility with a tape measure and this article’s checklists in hand
- Write down every gap you find, dated, with a photo attached
- Schedule your highest-risk fix, usually a blocked route or a missing accessible machine, before you schedule anything cosmetic
Why Accessible Gyms Retain Members Better Than Compliant Ones
Most owners treat ADA compliance as a legal checkbox, and that’s the wrong frame entirely. Compliance is the floor. Retention is what happens above it.
I’ve watched enough gym operations data to notice a pattern: facilities that build accessibility into daily habit, not just a one-time audit, see it show up in member tenure. A member who brings a friend using a mobility device, or ages into needing a transfer bench themselves, notices immediately whether your staff handles it smoothly or awkwardly. That single interaction often decides whether they renew.
The ANSI/RESNA IF-1:2018 standard goes beyond ADA minimums, and gyms that adopt it as a philosophy, not just a document, tend to build the staff habits that actually keep members. Start there: train your front desk this month on accommodation requests, before you spend a dollar on construction.
— Louis
How Fitness Flow Helps You Manage Accessibility Compliance Day to Day
A running record of accommodation decisions, accessible booking slots, and remediation tasks can be kept in one place instead of scattered across sticky notes and someone’s memory. Every ADA guide tells you to document your good-faith effort; having a central system can help manage this efficiently.
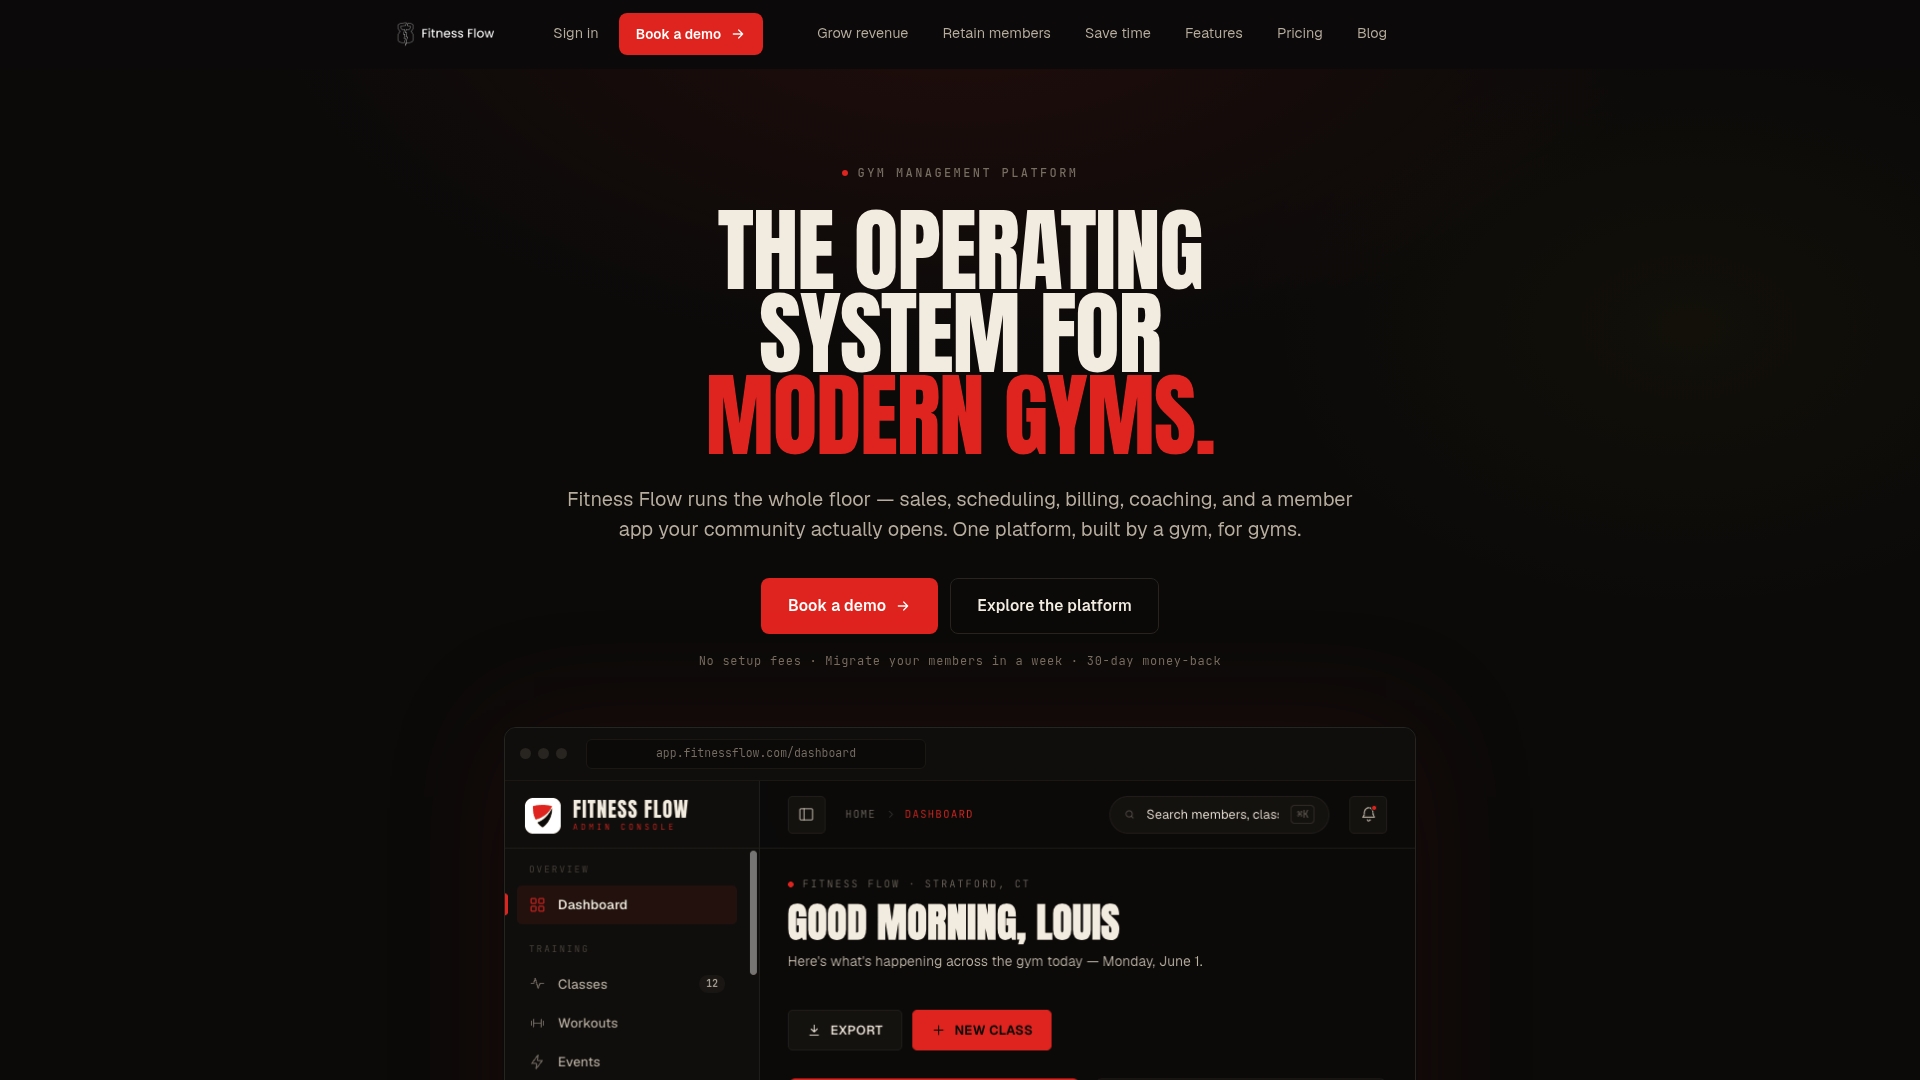
Task tracking tools can let you log remediation items, assign them to staff, and mark them complete with timestamps, providing the kind of paper trail that matters if a complaint ever surfaces. Waiver management can handle accessible-service disclosures alongside liability forms. Booking controls can flag which class slots or equipment reservations have accessible accommodations built in, reducing repeated accommodation requests. Replacing separate spreadsheets and sticky-note systems with a centralized solution helps front desk staff access a member’s accommodation history quickly.
If you’re ready to see how this looks on your own floor, visit Fitness Flow’s platform overview and request a demo walkthrough of the task and documentation tools before your next self-assessment.