
How to Embed a Class Schedule on Your Gym Website

The best way to embed a class schedule on a gym website is to pull it live from the system where you run your classes and booking, then place it on a page with an embed code or widget. A schedule you retype by hand goes stale the first time an instructor swaps a class. A live embed updates itself, so members always see what is really on the floor today.
This guide is for gym and studio owners and managers. It covers what to prepare, three ways to embed, how to keep the schedule current, how to make it work on phones, how members can add classes to their own calendars, and how to handle several locations.
Getfitnessflow
Keep Class Schedules Connected
Fitness Flow brings gym scheduling together with a branded member app, helping keep clients connected to classes between visits.
TL;DR
- Embed a live schedule from your booking system, not a static image or PDF, so changes and cancellations show up without anyone editing the page.
- Prepare your class list, instructors, rooms, capacities and booking rules before you touch any code.
- On phones, use a day-picker across the top and a vertical list of classes below it, not a full-week grid.
- Let members add classes to Google Calendar or Apple Calendar through a calendar feed, and keep booking itself in your system.
- With several locations, give each site its own schedule view on its own page, with a clear location filter.
Table of Contents
- What “embed a class schedule” means for a gym
- What to prepare before you add the schedule
- Three ways to embed a class schedule
- Keep it current: changes, cancellations and substitutes
- Make the embedded schedule work on mobile
- Let members add classes to their own calendars
- Booking from the schedule: what to check
- Several locations: one schedule per site
- Our perspective
- Where Fitness Flow fits
- Adding online classes to the same schedule
- A short launch checklist
- FAQ
- Sources
What “embed a class schedule” means for a gym
To embed a schedule is to show a living piece of another system inside your own web page. Visitors stay on your site, but the data comes from somewhere else and refreshes on its own. Technically that is usually an iframe (a window onto another page) or a small script that draws the schedule in place.
It helps to separate three things people lump together:
- A display calendar. Visitors can read it but cannot reserve a spot. A shared Google Calendar is the simplest example.
- A booking schedule. Each class has a button that starts a reservation, takes payment or checks membership, and manages the waitlist.
- A full member experience. Booking, billing and class access live in your own branded app, and the website schedule is a front door to it.
Most gyms need the second or third. A display-only calendar is fine for a small community studio with free drop-in classes. Once you have capacity limits, paid packs or recurring memberships, readers need to act on what they see.
What to prepare before you add the schedule
Most embed problems come from messy data, not from code. Spend an hour on this list first.
- Class names that members recognize. “HIIT 45” and “Power Hour” should not both describe the same format. Pick one name and keep it.
- Instructors. Full name or first name only, and whether you show photos.
- Rooms and locations. Studio A, outdoor turf, the address of each site.
- Capacity and waitlist rules. Maximum spots, when the waitlist opens and when it closes.
- Booking and cancellation windows. How far ahead members can book, and the last moment they can cancel without a fee.
- Class levels and descriptions. One or two lines per class. Beginners decide on these lines.
- Access rules. Which classes are open to drop-ins, which need a membership, which are members-only.
- A page to put it on. One clear schedule page works better than a schedule squeezed onto the homepage.
If you also run online sessions, decide now whether they sit in the same list as in-person classes or get their own tab. Our guides on live classes for gyms and on launching online classes walk through that decision.
Three ways to embed a class schedule
Option 1: Embed a shared calendar
This is the free, fast route. Google Calendar lets you make a calendar public and generate an iframe you paste into your page. Google’s own help page explains how to add a calendar to your website, including how to set the size and which view visitors see.
The steps in outline:
- Create a calendar just for classes, separate from your personal or staff calendars.
- Add each class as a recurring event with the instructor and room in the description.
- Make the calendar public in its sharing settings.
- Copy the embed code from the integration settings and customize the view.
- Paste the code into an embed or custom-code block on your schedule page.
The trade-off is that this is a display tool. It has no capacity count, no booking button, no waitlist and no link to membership status. Someone still has to enter every change by hand. It suits a pilot or a very small studio, not a schedule that drives revenue.
Option 2: Use the embed widget from your scheduling software
Most gym scheduling platforms offer a snippet of code or a widget that renders your real schedule inside your site. The schedule is the same data your front desk and instructors use, so there is no second copy to maintain. Before you commit to a system, check these points:
- Does the widget show live availability, such as spots left?
- Can members book, join a waitlist or cancel from the widget?
- Can you filter by location, instructor, class type and day?
- Can you match your brand colors and fonts?
- Does it load quickly on a phone?
- Does it work inside your site builder, or only on a custom-coded page?
Ask for a live demo of the widget on a phone before you sign up, not only on a desktop screenshot.
Option 3: Link out to a hosted schedule or branded app
Sometimes an embed is not the best front door. If your members book through a branded app, your website can show a simplified read-only schedule and send people to the app or a hosted booking page for the actual reservation. This keeps payment, identity checks and waivers in one controlled place. It is also the cleanest option when your site builder blocks third-party scripts.
Which option fits
SituationBest fit
One small studio, free or drop-in classes, a few changes a month
Shared calendar embed
Paid classes, capacity limits, waitlists, memberships
Widget from your scheduling software
Members already book in a branded app
Read-only schedule plus a link to the app
Several locations with different timetables
Widget with a location filter, one page per site
Keep it current: changes, cancellations and substitutes
The point of embedding is that nobody edits the website when the schedule changes. That only works if the people who run classes change the schedule in the source system, every time. A few habits make it reliable:
- One source of truth. Instructors and front-desk staff edit classes in the scheduling system only. Never keep a second spreadsheet.
- Substitutes the same day. Update the instructor field when the substitute is confirmed. Members book instructors as much as formats.
- Cancel the class, do not delete it. A class marked cancelled with a short reason is more helpful than one that silently disappears, and it triggers notices to people already booked.
- Holiday schedules in advance. Build holiday timetables a few weeks ahead, so the embed already shows them.
- A weekly check. Once a week, open your public page on your phone and compare it with what the floor team expects. Five minutes finds most errors.
If scheduling gaps cause empty rooms or overbooked ones, our piece on fixing class scheduling covers what to adjust first. If the bigger problem is covering shifts, see demand-driven staff scheduling.
Make the embedded schedule work on mobile
Most members check a class time on their phone, often standing in a parking lot. A full-week grid that looks fine on a laptop becomes tiny and hard to tap on a small screen. One design guide recommends a horizontal day-picker at the top with a vertical list of classes below, because standard calendar grids tend to be too cramped for phones.
Practical rules for your own page:
- Default to today. Open on the current day, not on Monday of next week.
- Put time first. Each row starts with the start time, then class name, instructor and spots left.
- One obvious button per class. “Book”, “Join waitlist” or “Full” in a large, tappable target.
- Keep filters short. Location, class type and instructor are enough. Hide the rest behind a single “Filter” button.
- Give the embed room. Set the frame to full width, with a height that fits the content or resizes automatically. A fixed small frame forces members to scroll inside a scroll, which feels broken.
- Test on real devices. Check at least one iPhone, one Android phone and one tablet, on cellular data as well as Wi-Fi.
- Do not hide it. Put the schedule link in your main menu, not three clicks deep.
Let members add classes to their own calendars
Members who see a class in their personal calendar show up more reliably. There are two different things to offer, and it is worth being clear about both.
Subscribing to the whole schedule. If you use a shared Google Calendar, Google notes that visitors can subscribe by clicking “Add to Google Calendar” at the bottom left of the embedded calendar. On an iPhone, people can subscribe to an external read-only calendar by entering its .ics address in Calendar or by tapping a link to it. So one calendar feed link on your schedule page serves both Google and Apple users.
Adding a single booked class. When a member books a spot, a confirmation that includes an “add to calendar” file lets them save just that session. Ask your software provider whether booking confirmations include one.
Two cautions. A subscribed feed is read-only, so it is a reminder, not a booking. And feeds can refresh on the member’s calendar app’s own timing, so a last-minute cancellation should also be sent to booked members by email or app notification rather than relying on the feed alone.

Booking from the schedule: what to check
An embedded schedule earns its place when it turns a visitor into a booking. Walk through the journey yourself as a brand-new visitor:
- Open your schedule page on a phone and choose a class.
- Tap book. Are you asked to create an account, buy a pass or sign a waiver?
- Complete the process. How many screens did it take?
- Check the confirmation. Does it include the address, start time, what to bring and the cancellation rule?
- Cancel the booking. Does the spot reopen for the next person, and does the waitlist move?
Each extra screen costs you bookings. Keep first-time steps short: collect the waiver and payment once, and let returning members book in a tap. If you offer a free trial class, make that path obvious from the schedule itself.
Several locations: one schedule per site
Multi-location owners often put every class on one long list. Members then scroll past sessions at a gym 20 miles away. A cleaner pattern:
- A page per location, each with its own address, parking notes, hours and embedded schedule filtered to that site.
- A location picker on the main schedule page for members who train at more than one site.
- Shared class names across locations, so “Spin 45” means the same thing everywhere.
- Clear labeling of the site on every row, in case someone lands on a combined view.
- Local time and holiday differences handled per site, not by one global timetable.
- Centralized control. Head office should be able to set standards for class names and descriptions while site managers handle daily changes.
A system that manages all sites from one account makes this far easier than a separate calendar per gym.
Our perspective
We built Fitness Flow because we kept seeing the same pattern: a gym pays for one tool to schedule classes, another to bill members, another to send messages, and a website calendar that someone updates by hand. Every handoff is a place where a member sees the wrong time or a front-desk team loses an hour.
Our view is that the schedule on your website should not be a separate thing at all. It should be a window into the same system that handles booking, recurring billing and member communication, and it should lead into a branded app that carries your gym’s name, not ours. When the schedule, the payment and the member record live together, a cancelled class updates everywhere at once, and the person who booked it is told.
We also believe the schedule is a retention tool, not just an information page. Members who can see classes, book in a tap and keep their routine between visits through live classes and gamified features tend to stay engaged. That is what our platform is designed to support, and it is why we put scheduling, billing, engagement and analytics in one place.
If you take one thing from this guide: pick one source of truth for your timetable, and make everything else read from it.
Louis
Where Fitness Flow fits
Fitness Flow is all-in-one gym management software that covers class scheduling and booking, recurring billing, a fully branded member app, live and on-demand classes, multi-location management and reporting. That means you manage the schedule once instead of keeping a website calendar, a billing tool and a messaging tool in sync. We also offer migration support and integrations with popular payment and communications tools.
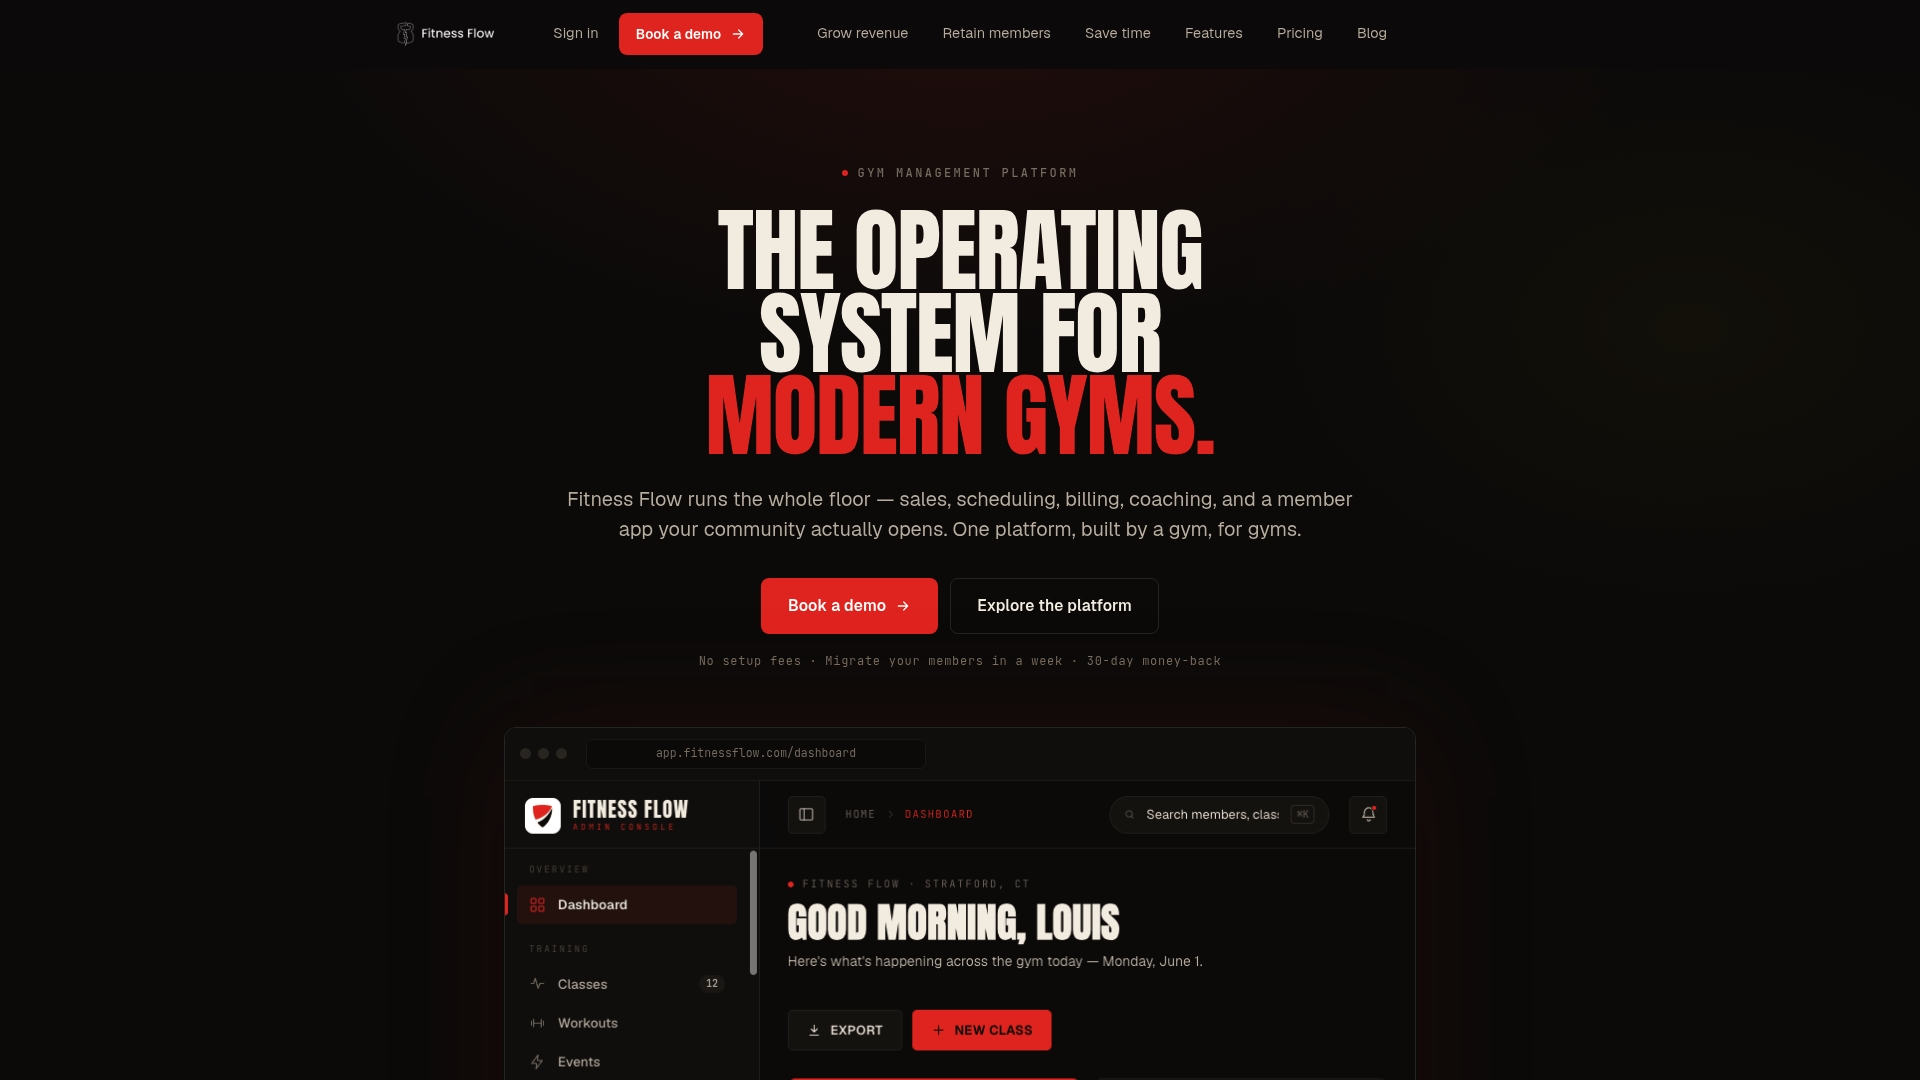
Plans are published as Solo at $149 per month and Studio at $349 per month, and Multi-site is priced on request. You can see what each includes on our plans page, or read more about how Fitness Flow runs a modern gym.
Adding online classes to the same schedule
If you stream sessions or sell recordings, show them where members already look. A simple approach is a tag on each row: “In studio”, “Live online” or “On demand”. That lets a member who cannot make the 6 p.m. class see the online alternative in the same view. If you are weighing it up, our guides on livestreaming fitness classes, selling on-demand classes and live streaming for gyms explain how to start small. For the timetable itself, ready-to-run group class programming templates help instructors keep formats consistent.
A short launch checklist
- Clean up class names, descriptions, instructors and rooms.
- Decide between a calendar embed, a software widget or a link to your app.
- Create a dedicated schedule page and add it to your main menu.
- Embed the schedule at full width and test it on at least two phones.
- Add a calendar feed link for members who want it in their own calendar.
- Book, cancel and rebook a class yourself to test the member journey.
- Train staff to edit the schedule only in the source system.
- Check the public page weekly and fix errors the same day.
FAQ
Can I embed a class schedule without any coding?
Yes. Most website builders have an embed or custom-code block where you paste a snippet, and both shared-calendar tools and gym software generate that snippet for you. You copy it, paste it into the block and publish. If your builder blocks third-party code, link to a hosted schedule page instead.
Will members be able to book directly from the embedded schedule?
That depends on the source. A basic shared calendar only displays classes, while a scheduling system connected to booking and billing can show a book button, spots left and a waitlist. Test the full booking journey on a phone before you publish.
How do I keep the embedded schedule accurate?
Edit classes only in the system that feeds the embed, never on the website itself. Mark cancellations instead of deleting them, update substitute instructors the same day and check the public page on your phone once a week.
Can members sync classes with Google Calendar or Apple Calendar?
Yes, through a calendar feed. Google lets visitors subscribe to an embedded calendar from the “Add to Google Calendar” link, and iPhone users can subscribe to a read-only calendar by entering its .ics address. A feed is a reminder only, so booking and last-minute cancellations should still go through your own system.
Sources
- Add a calendar to your website - Google Calendar Help
- Set up multiple calendars on iPhone - Apple Support
- Class schedule UI examples with HTML code (web & mobile)